
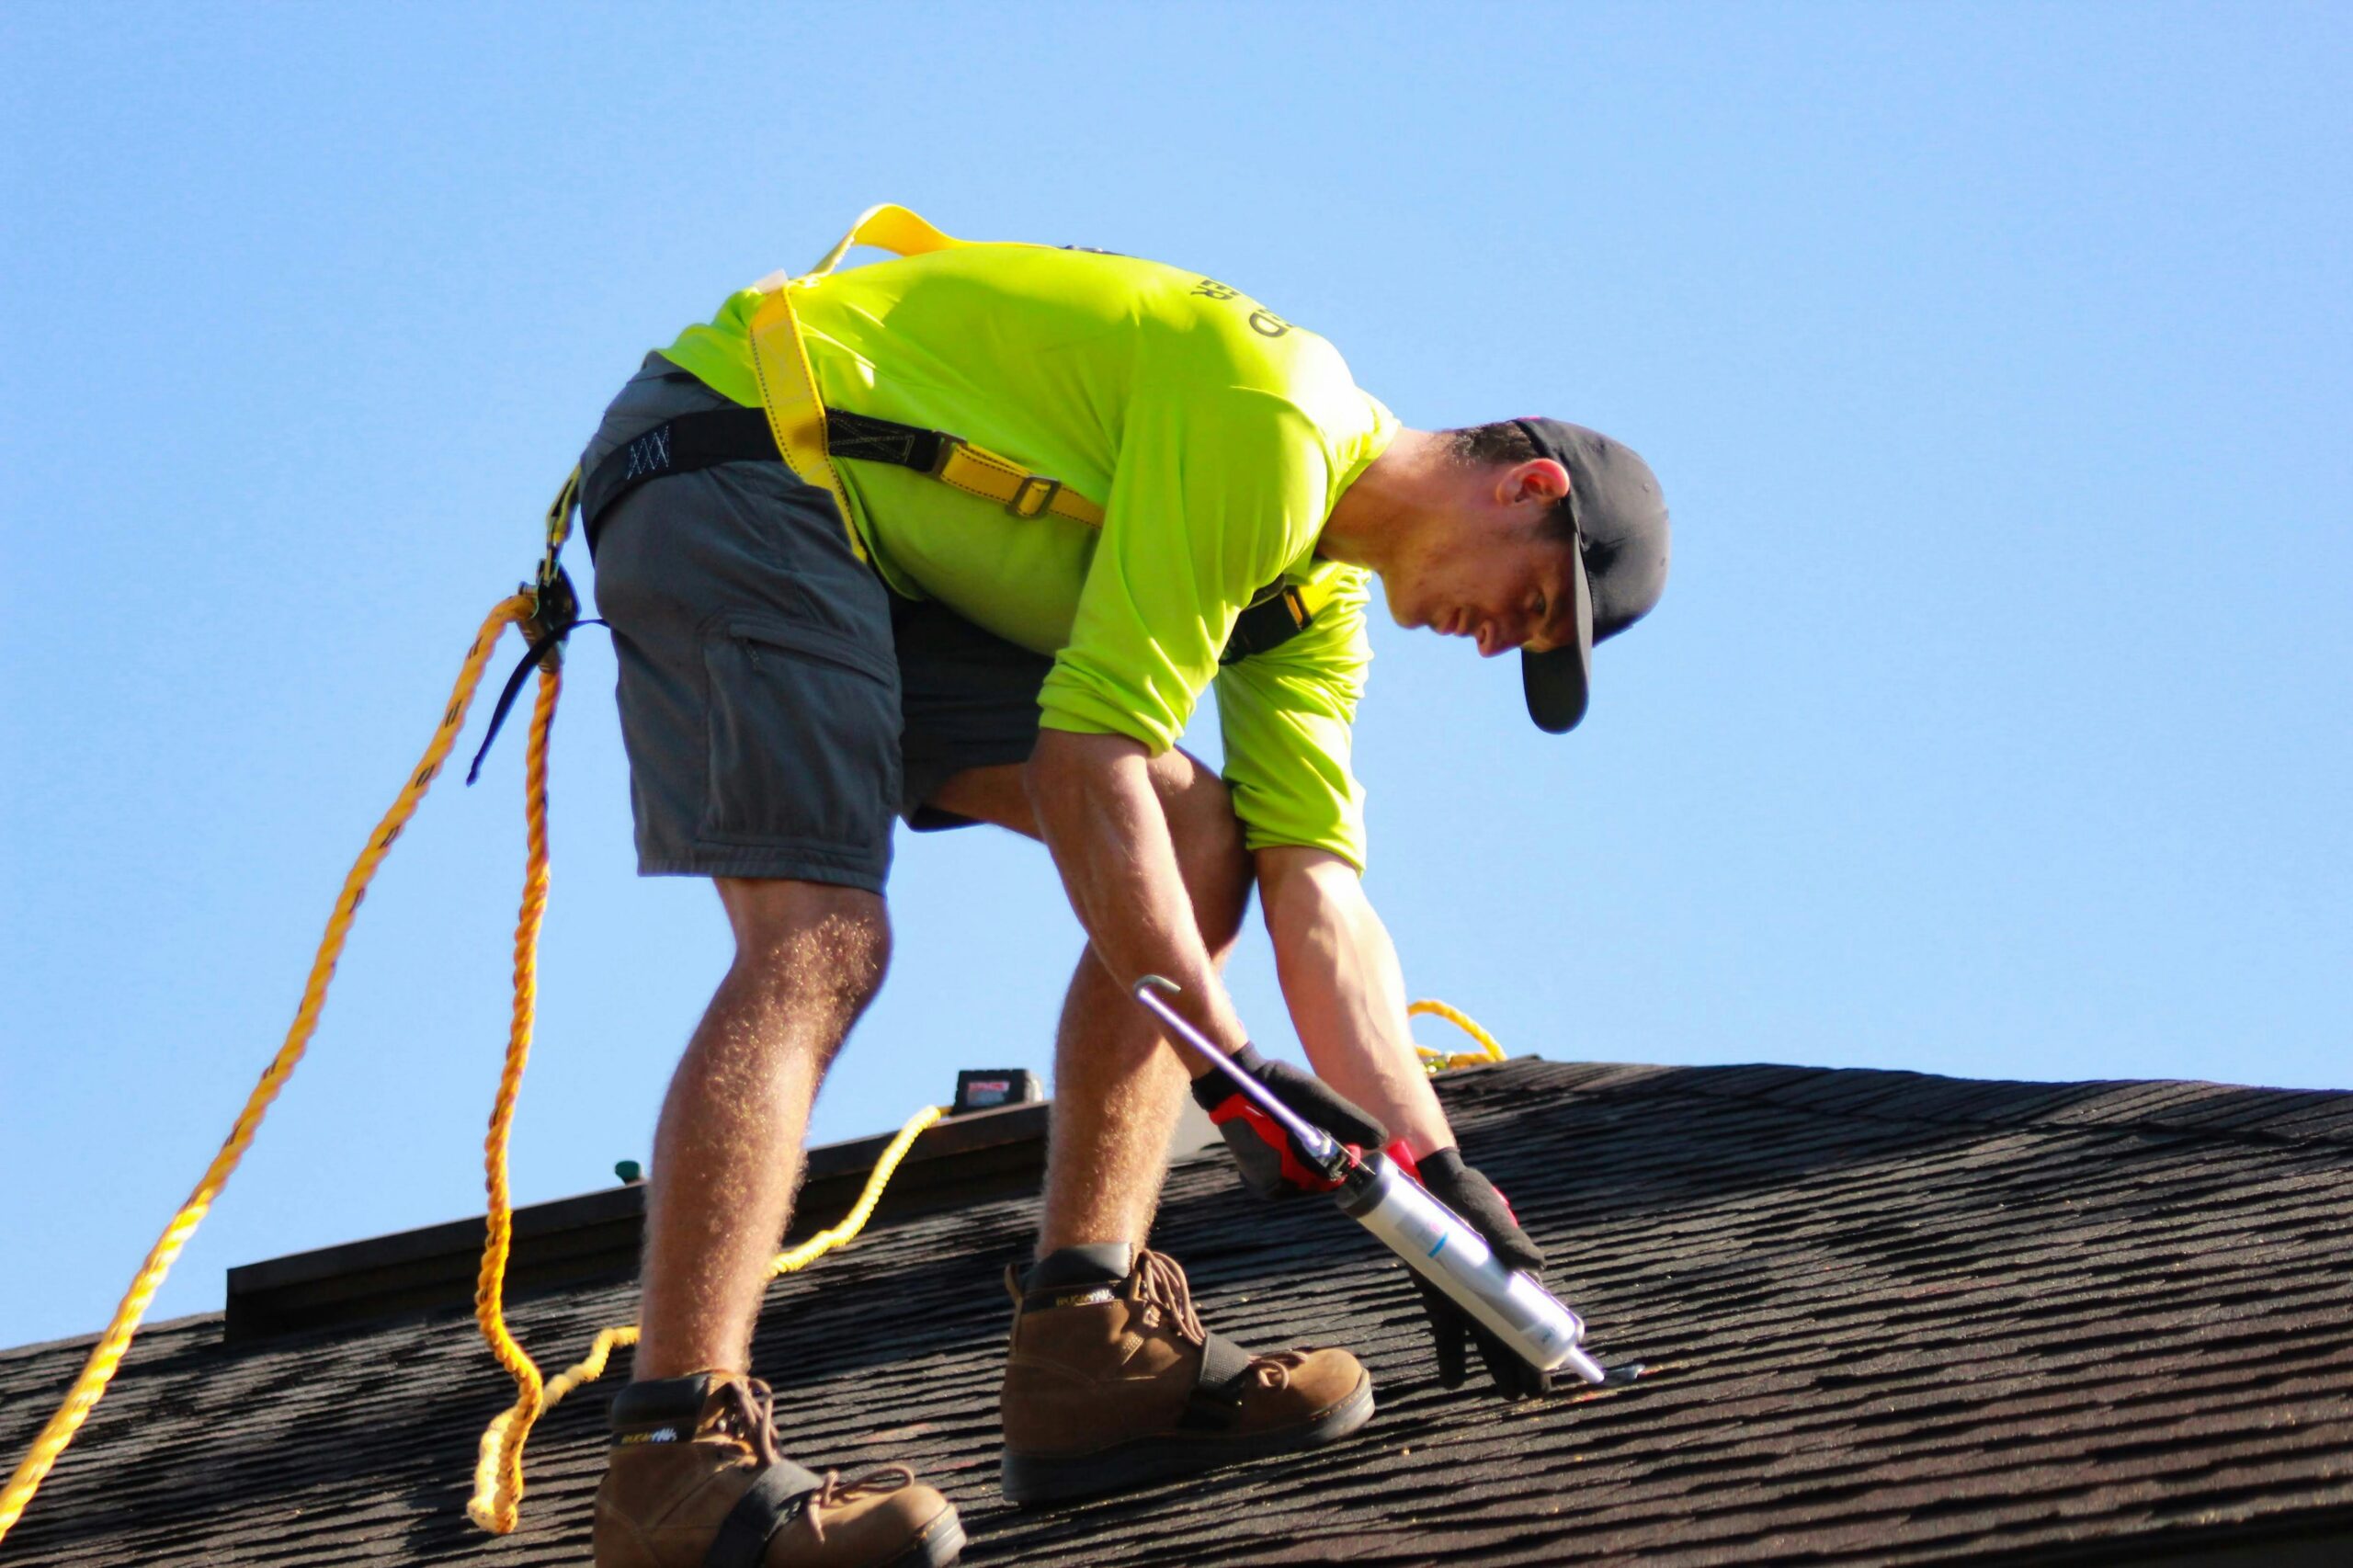
How to install asphalt shingles: A professional crew tears off the old roof, inspects and repairs the deck, installs underlayment and drip edge, applies starter strips and field shingles in the correct pattern with proper nailing, caps the ridge, and performs a final cleanup and inspection. The entire process typically takes 1-3 days on a standard 2000 square foot home, depending on weather and complexity.
If you've scheduled a roof replacement in Sherwood Park or Edmonton, you're probably wondering what actually happens between the day the crew arrives and the moment they hand you the final invoice. Most homeowners know they're getting new shingles but have no idea what good workmanship looks like at each stage or how long each phase should take.
You want to know when the noise starts, when the dumpster arrives, and whether your contractor is cutting corners. This guide walks you through the real sequence of events during an asphalt shingle installation so you can spot quality work, ask informed questions, and understand exactly what you're paying for.
Asphalt Shingle Installation Steps: What Happens on Day One
The first day of your roof replacement sets the tone for the entire project. A professional crew arrives early, typically between 7:00 and 8:00 AM, and the first order of business is protecting your property.
Protecting Your Home and Landscaping
Before a single shingle comes off, your contractor should lay tarps over gardens, move patio furniture, and cover air conditioning units. We've seen too many Sherwood Park homeowners deal with nails in their flowerbeds or damaged siding because a crew rushed this step.
Good contractors also set up magnetic sweepers and position the dumpster as close to the house as possible to minimize debris scatter. If your crew skips this prep, that's your first red flag.
The Tear-Off Process
Once protection is in place, the tear-off begins. Crews use flat bars and roofing shovels to strip old shingles, underlayment, and any damaged flashing down to the bare roof deck. On a typical 2000 square foot home, tear-off takes 3-6 hours depending on the number of layers and roof complexity.
You'll hear a lot of noise during this phase. Expect banging, scraping, and the sound of debris hitting the dumpster. If you work from home, plan accordingly or find a quiet spot away from the house.
The crew should be tossing material directly into the dumpster or using a chute system. If you see piles of shingles accumulating on the ground or your lawn, your contractor isn't respecting your property the way Scherger Roofing does on every roof replacement project.
Roof Deck Inspection and Repair: The Foundation of a Long-Lasting Roof
Once the old roof is stripped, the roof deck is fully visible for the first time in years. This is when your contractor discovers hidden problems that weren't obvious during the initial inspection.
What Your Contractor Should Be Looking For
A thorough deck inspection checks for:
- Rotted or water-damaged plywood or OSB sheathing
- Sagging or improperly spaced rafters
- Missing or improperly installed blocking
- Nail pops or fastener issues
- Structural damage from previous leaks
In Alberta's climate, ice damming and wind-driven rain often cause deck damage around valleys, eaves, and penetrations. If your contractor finds soft spots or rot, they should replace those sections before moving forward. Laying new shingles over compromised decking is like painting over mold. It hides the problem temporarily but guarantees failure down the road.
How Much Deck Repair Should You Expect?
On a well-maintained roof, deck repair is minimal (a few sheets at most). On older roofs or homes that experienced leaks, you might need to replace 10-20% of the sheathing. Your contractor should document any repairs with photos and explain the scope before proceeding.
Deck repair adds time to the project (usually half a day to a full day) and cost, but it's non-negotiable. Skipping this step is the number one way contractors cut corners and the number one reason homeowners call us for emergency roof repair & leak repair two years after a 'bargain' replacement.
Underlayment and Drip Edge: Your Roof's First Line of Defense
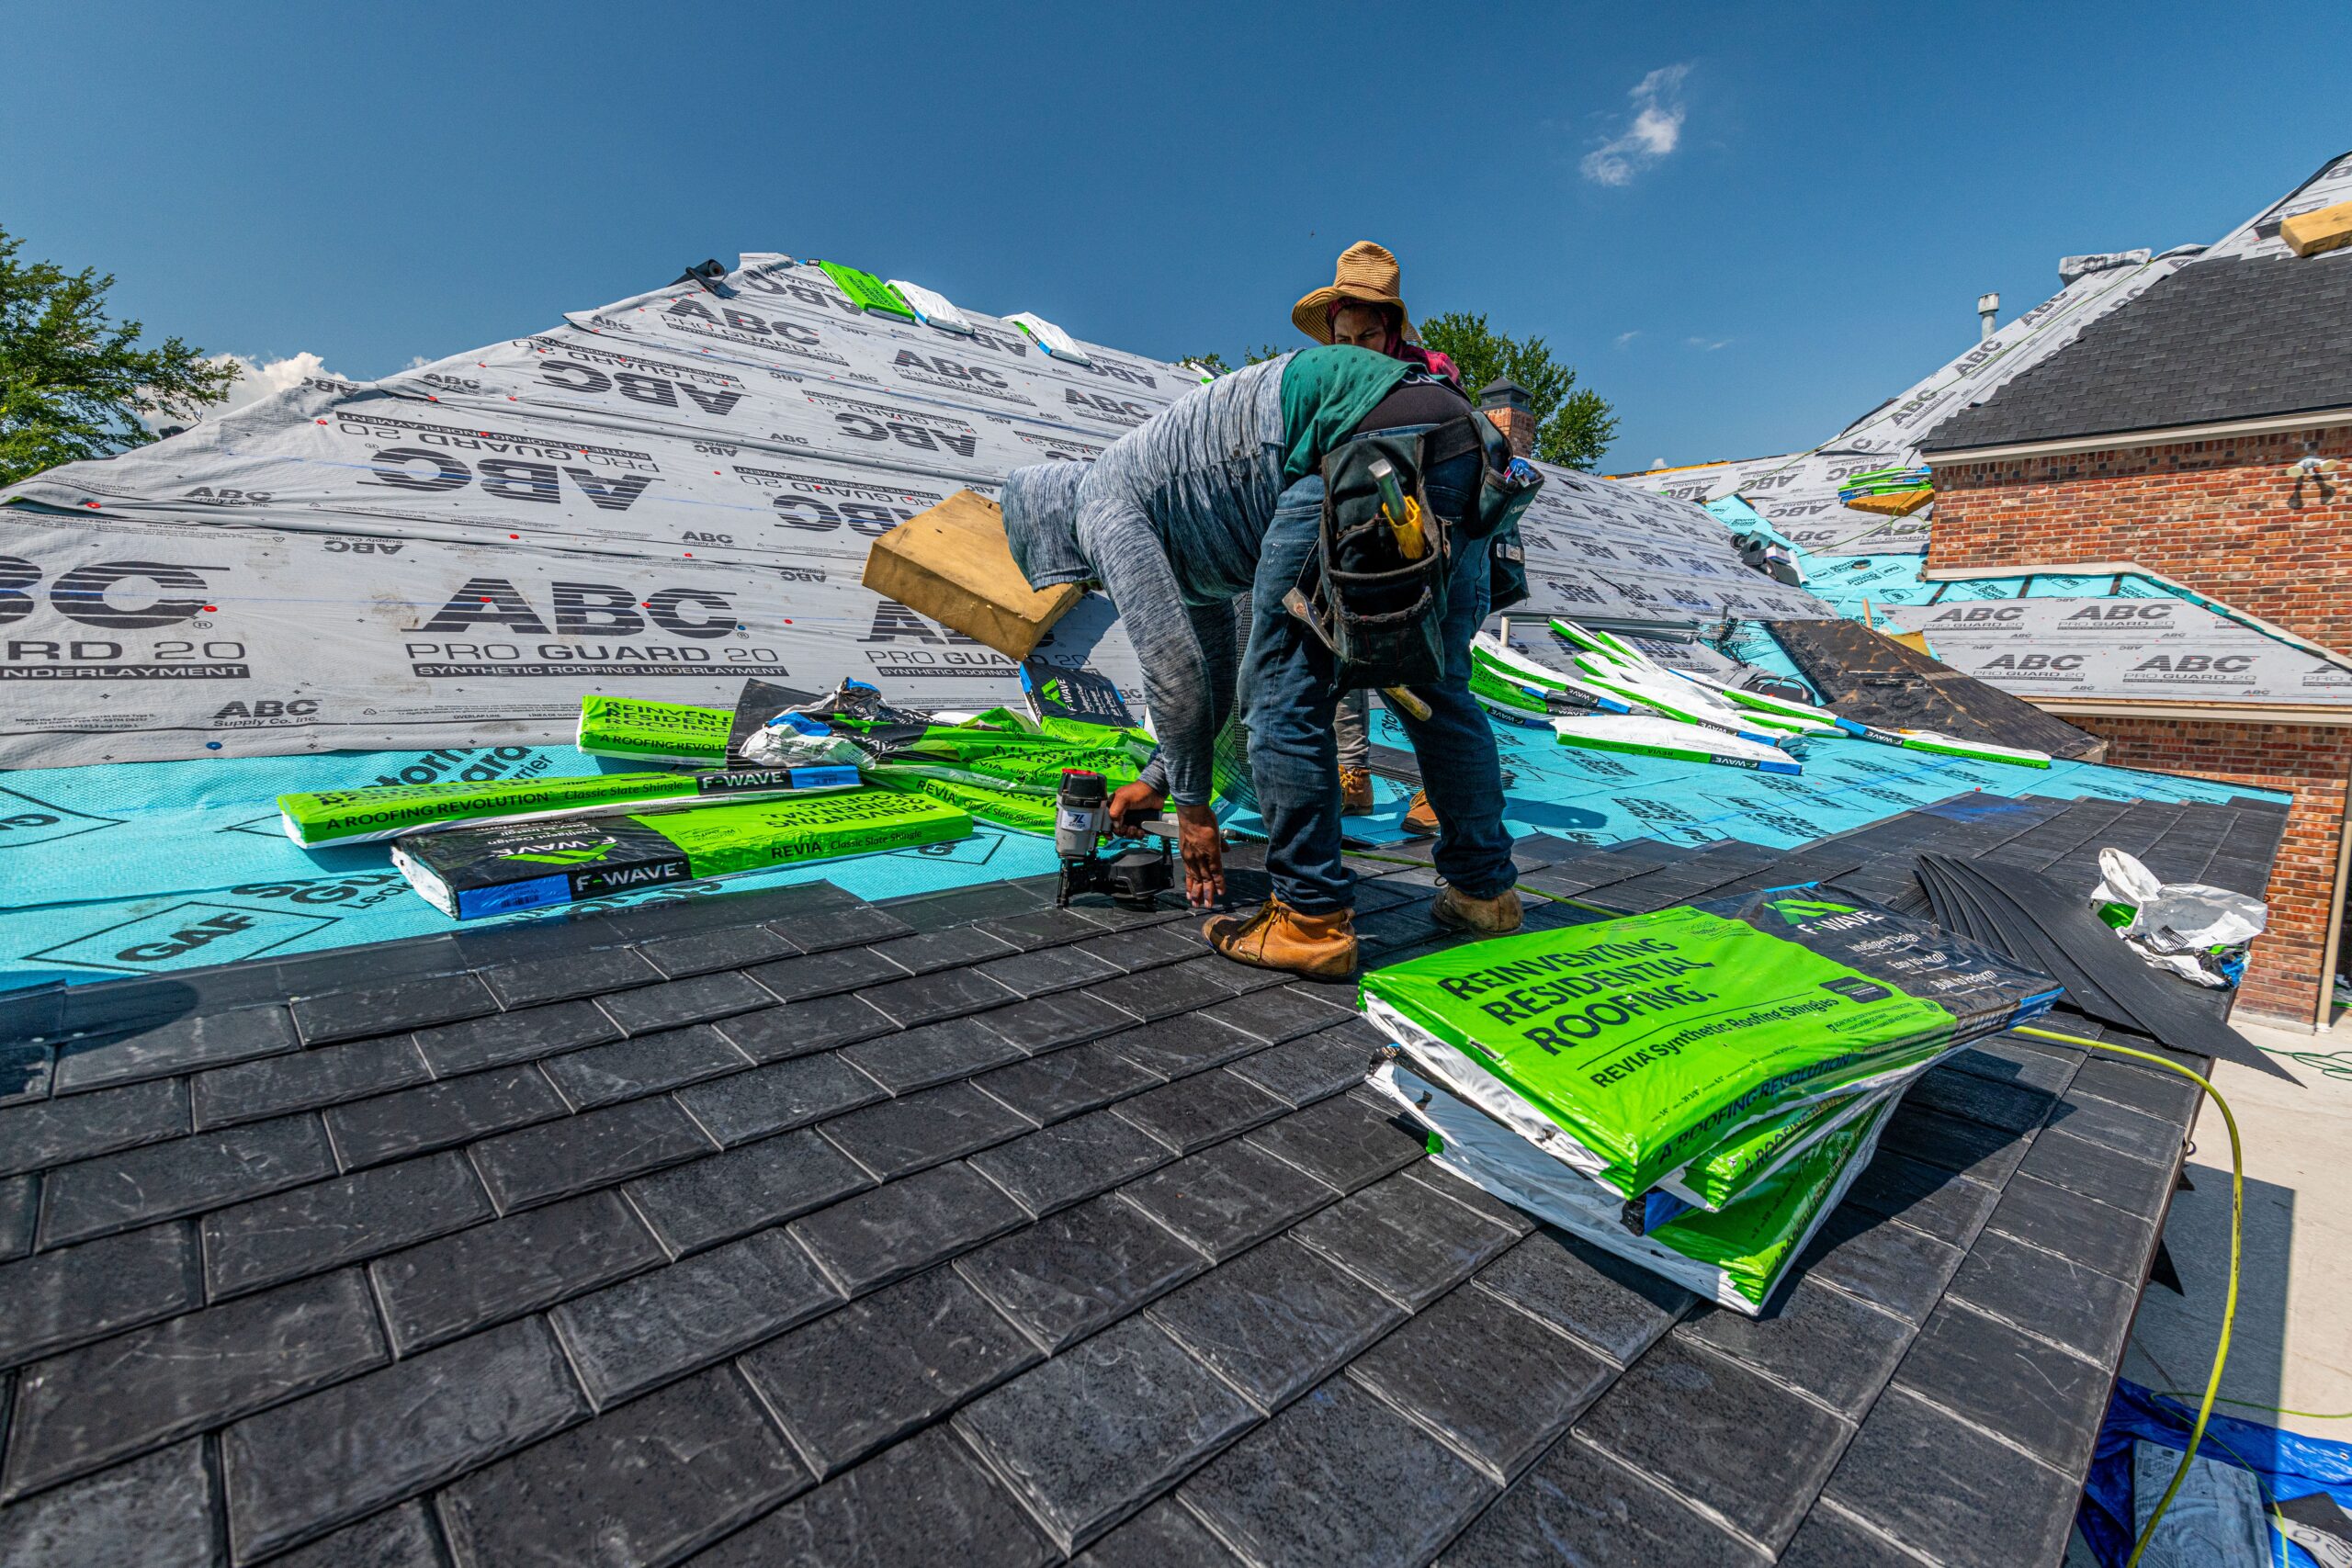
With a sound deck in place, the crew installs the underlayment and drip edge. These components aren't glamorous, but they're critical to keeping water out.
Choosing the Right Underlayment
Most Alberta roofs use one of two underlayment types:
- Asphalt-saturated felt (15# or 30#): Traditional, affordable, works well in most climates.
- Synthetic underlayment: Lighter, more tear-resistant, better for high-wind areas and longer exposure times.
We typically recommend synthetic underlayment in Sherwood Park and Fort Saskatchewan because it performs better during sudden weather changes and offers superior protection if installation gets delayed by rain or wind.
Underlayment is applied horizontally, starting at the eaves and working upward with a 4-6 inch overlap on each course. The crew should staple or nail it securely but not over-fasten, which can create ridges visible through the shingles.
Installing Drip Edge the Right Way
Drip edge is a metal flashing installed along the eaves and rakes (the edges of the roof). It directs water away from the fascia and into the gutters, preventing rot and ice dam formation.
Here's the correct sequence: install drip edge along the eaves before the underlayment, then install drip edge along the rakes on top of the underlayment. Many contractors reverse this order or skip the rake drip edge entirely to save time. That's a mistake. According to the Canadian Home Builders' Association (CHBA), proper flashing is required to meet warranty and insurance standards.
If your contractor installs underlayment and drip edge in a single morning, they're moving at the right pace. If they skip the drip edge or use undersized material, walk away.
Starter Strips and Field Shingles: The Heart of the Installation
This is the phase most homeowners picture when they think about how to install asphalt shingles. It's also where craftsmanship separates good roofers from mediocre ones.
Why Starter Strips Matter
Starter strips are special shingles (or cut-down field shingles) installed along the eaves and rakes to provide a sealed edge and prevent wind uplift. They're applied adhesive-side down, directly over the drip edge.
Many contractors skip starter strips and just run field shingles upside-down along the edge. That works in some climates, but in Alberta, where chinook winds can gust over 100 km/h, skipping starter strips invites blow-offs and warranty denials. Every asphalt shingles installation we do includes proper starter strips, no exceptions.
Laying Field Shingles: Pattern, Offset, and Nailing
Field shingles are installed in horizontal courses, starting at the eaves and working upward. The key to a professional installation is maintaining the correct offset (typically 6 inches on a standard three-tab shingle or half-tab on architectural shingles) and hitting the nailing zone on every shingle.
The Right Nailing Pattern
Each shingle requires 4-6 nails depending on roof pitch and wind exposure. Nails should be driven:
- Straight and flush (not over-driven or under-driven)
- In the nailing zone specified by the manufacturer (usually 1 inch below the adhesive strip)
- Through all layers of shingle
Over-driven nails tear the shingle and create leak points. Under-driven nails leave the head exposed, which catches wind and accelerates blow-offs. We've repaired dozens of roofs in Beaumont and Edmonton where contractors used nail guns set to the wrong pressure and blew through half the shingles on the roof.
How Long Does Shingle Installation Take?
On a 2000 square foot home with a simple gable roof, a skilled crew can lay field shingles in one full day. Complex roofs with multiple valleys, dormers, or steep pitches take longer. If your crew is stretching shingle installation across three or four days on a straightforward roof, they're either understaffed or inexperienced.
Ridge Cap, Flashing, and Ventilation: Finishing the Critical Details
Once the field shingles are down, the crew finishes the ridge cap, installs flashing around penetrations, and ensures proper ventilation. These details determine whether your roof lasts 15 years or 25.
Ridge Cap Installation
Ridge cap shingles cover the peak of the roof where two slopes meet. They're thicker and pre-bent for flexibility. The crew should install them with a 5-6 inch exposure, overlapping each shingle and nailing on both sides of the ridge.
Poor ridge cap work is one of the most common failure points we see during roof inspections in Sherwood Park. If the caps aren't seated properly or the nails miss the ridge board, wind gets underneath and the caps peel off in the first major storm.
Flashing Around Chimneys, Vents, and Skylights
Flashing is the metal or rubberized material that seals the joint between the roof and any penetration (chimneys, vent pipes, skylights). Proper flashing is layered with the shingles so water flows over the flashing and down the roof, never behind it.
Step flashing (used around chimneys and walls) should be woven into each course of shingles, not applied as a single piece at the end. Pipe boot flashing should use high-quality rubber or lead that won't crack in Alberta's freeze-thaw cycles.
If your contractor uses caulk instead of proper flashing, refuse the work. Caulk fails within a year or two. Proper flashing lasts as long as the shingles.
Ventilation: The Key to Preventing Ice Dams and Premature Aging
Adequate roof ventilation (intake at the soffits, exhaust at the ridge or gable ends) prevents heat and moisture buildup in the attic. Without it, your shingles age twice as fast and ice dams form along the eaves every winter.
Your contractor should calculate the required ventilation based on your attic square footage and install the appropriate combination of ridge vents, box vents, or turbine vents. Adding extra vents while the roof is open is one of the best investments you can make, just like Sharon Gorton mentioned in her review: 'Can't believe how quick Braden had our roof repair done and added extra vents while here, great worker, very respectable.'
Final Cleanup and Inspection: What a Professional Job Site Looks Like
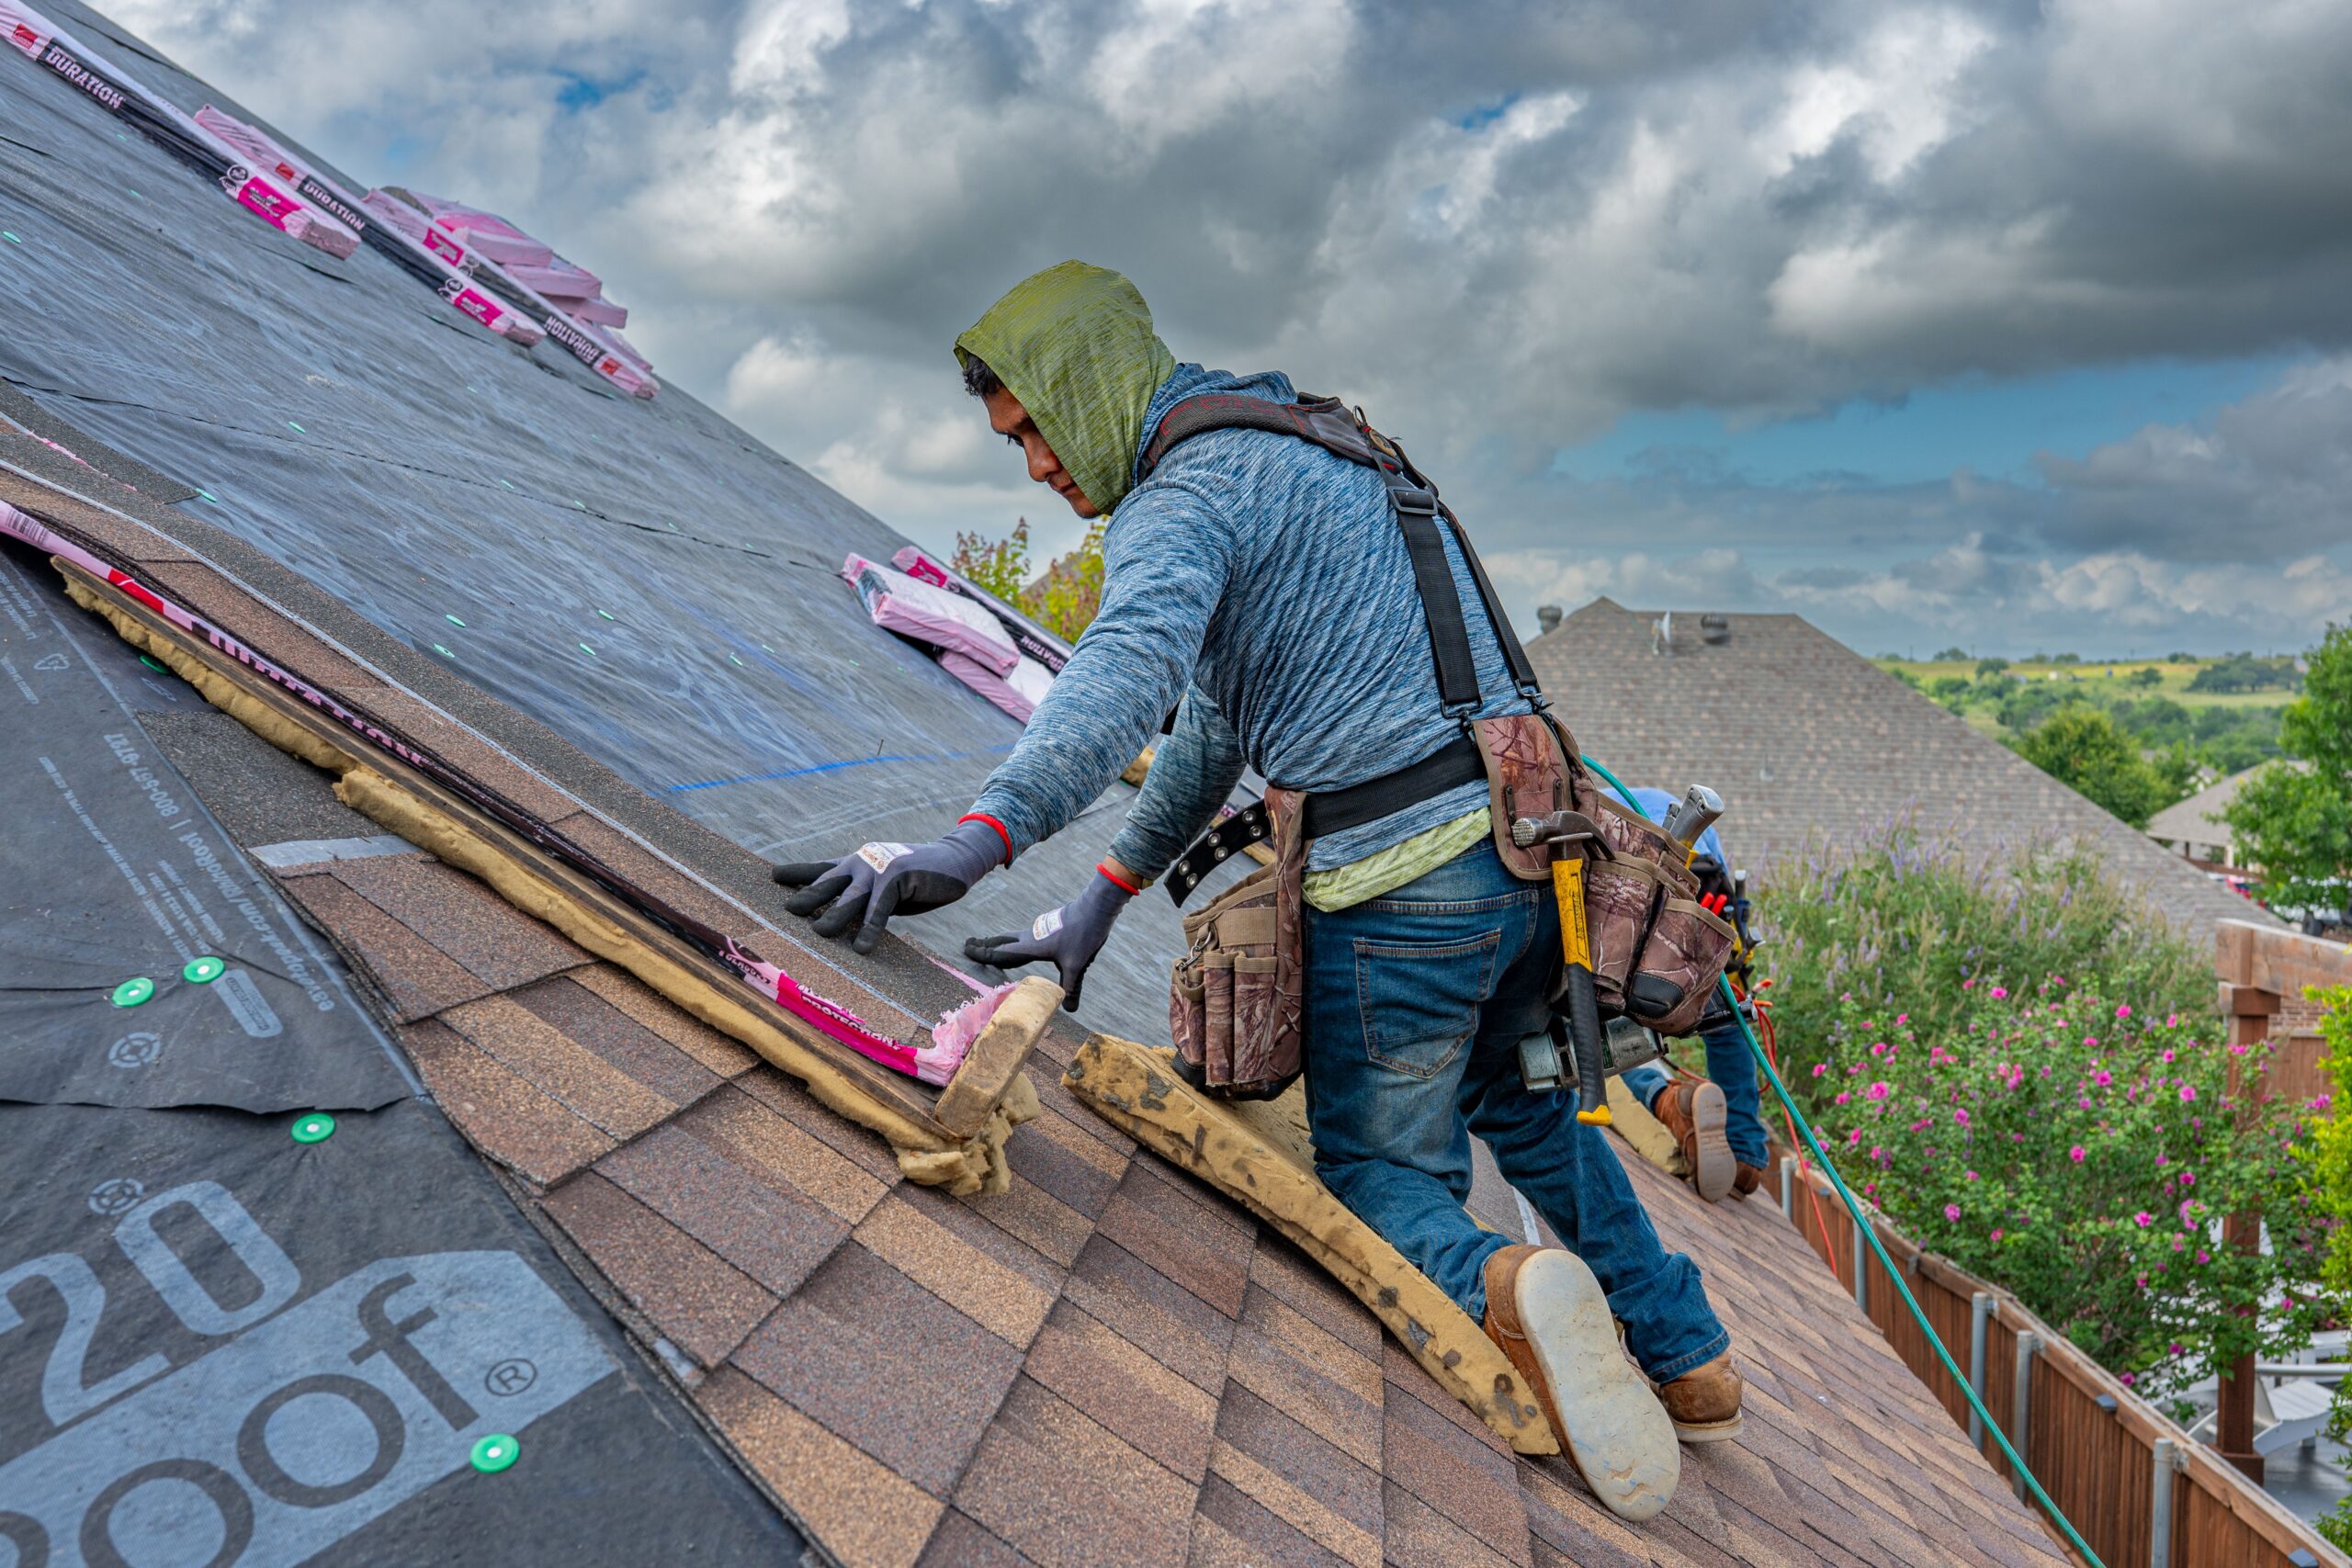
The final phase separates contractors who care about their reputation from those who just want to collect a check and move on.
Cleanup Standards You Should Expect
A professional crew performs a multi-stage cleanup:
- During the job: Debris goes directly into the dumpster or chute, not onto your lawn.
- End of each day: Magnetic sweepers are run across the entire property to pick up nails and metal debris.
- Final cleanup: The crew walks the perimeter, checks gutters, blows off the roof, and removes all tarps and protection.
You should be able to walk barefoot in your yard the day after the crew leaves. If you're finding nails in your driveway a week later, your contractor didn't finish the job.
The Final Inspection Walk-Through
Before the project is complete, your contractor should walk you through the finished roof and point out:
- New flashing and ventilation
- Ridge cap installation
- Any deck repairs that were made
- Warranty registration information
This is your chance to ask questions, take photos, and confirm that every detail meets your expectations. At Scherger Roofing, Braden personally conducts the final walk-through on every Commercial Roofing and residential project to ensure our 5.0-star reputation stays intact.
Shingle Installation Timeline: How Long Should Your Project Take?
Homeowners always want to know: how long will this take? Here's a realistic timeline for a standard 2000 square foot home in Sherwood Park or Edmonton.
Typical Timeline by Phase
- Day 1 (morning): Site prep, tear-off, deck inspection
- Day 1 (afternoon): Deck repairs (if needed), underlayment and drip edge
- Day 2 (morning): Starter strips, begin field shingles
- Day 2 (afternoon): Complete field shingles, begin ridge cap and flashing
- Day 3 (morning): Finish ridge cap, install ventilation, final details
- Day 3 (afternoon): Cleanup, inspection, dumpster removal
Simple roofs can be completed in 1-2 days. Complex roofs with multiple valleys, steep pitches, or extensive deck repair may take 3-5 days. Weather delays are common in Alberta, so build in a buffer if your project is scheduled during spring or fall.
Red Flags That Indicate a Problem
If your contractor:
- Leaves the roof open overnight without tarping before a forecasted storm
- Stretches a simple roof across a full week
- Doesn't show up for scheduled work days without calling
- Leaves debris scattered across your property
…you're dealing with a crew that doesn't respect your time or property. Jason Hartson had the opposite experience: 'Braden and crew did a great job repairing our roof after a recent windstorm. From first contact Braden was great to deal with, reasonably priced and his workmanship was top notch. A great experience from start to finish.'
Common Installation Mistakes That Void Your Warranty
Even experienced roofers make mistakes that can void your manufacturer's warranty and shorten your roof's lifespan. Here are the most common errors we see during re-roofs of botched jobs.
Improper Nailing
Over-driven nails (driven too deep) tear the shingle and create weak points. Under-driven nails (not flush) catch wind and pull out. Off-location nails (outside the nailing zone) don't secure the shingle properly. All three void most manufacturer warranties.
Incorrect Shingle Offset
If the offset pattern isn't consistent, vertical channels form where water can flow between shingles and reach the underlayment. This accelerates wear and causes leaks within a few years.
Mixing Old and New Materials
Some contractors reuse old flashing, drip edge, or ventilation components to save money. Mixing 20-year-old metal with brand-new shingles is a recipe for early failure. Always insist on new flashing and trim.
Skipping the Starter Strip
We've covered this already, but it's worth repeating: skipping the starter strip is one of the most common ways contractors cut costs, and it's one of the first things to fail when Alberta's spring winds arrive.
Frequently Asked Questions
How long does it take to install asphalt shingles on a typical home?
A professional crew can install asphalt shingles on a standard 2000 square foot home in 1-3 days, depending on roof complexity, weather, and the extent of any deck repairs. Simple gable roofs with no valleys or dormers are often completed in a single long day, while complex roofs with multiple angles, steep pitches, or extensive flashing work may take up to five days.
Can I install asphalt shingles myself to save money?
While it's technically possible to install asphalt shingles yourself, we don't recommend it. Improper installation voids manufacturer warranties, creates leak points, and often costs more to fix than hiring a professional in the first place. Roofing also involves significant fall risk, especially on steep pitches. Unless you have professional training and the right safety equipment, leave shingle installation to licensed contractors.
What's the most important step in the asphalt shingle installation process?
Deck inspection and repair is the most critical step. If the roof deck is rotted, sagging, or improperly fastened, even perfectly installed shingles will fail prematurely. A solid, well-ventilated deck is the foundation of a long-lasting roof. Never let a contractor skip this phase or rush through it.
How do I know if my contractor is installing shingles correctly?
Look for these signs of quality work: consistent shingle offset pattern, nails driven flush in the nailing zone, proper starter strips along all edges, new flashing around every penetration, and a clean job site at the end of each day. If you see crooked courses, exposed nail heads, or reused flashing, your contractor is cutting corners.
Your roof is one of the most important systems in your home, and understanding how to install asphalt shingles the right way helps you hold your contractor accountable and avoid costly mistakes. Whether you're replacing an aging roof before winter or repairing storm damage, knowing what happens at each phase ensures you get the quality and durability you're paying for.
Scherger Roofing has built a 5.0-star reputation across 94 Google reviews by doing every step right, showing up when we promise, and treating your property with respect. If you're ready to schedule a roof replacement in Sherwood Park, Fort Saskatchewan, Beaumont, or Edmonton, request a detailed quote and timeline today. Call 780-394-3404 or visit our website to get started.